The One-Afternoon Kitchen Reset That Makes Meal Prep Easier (Even With Kids Underfoot)
If meal prep feels harder than it should, the problem might not be you. It might be your kitchen.
I know this one firsthand. Meal prep is so much harder and more stressful without the right tools or a working system. For a long time, every week felt like starting from scratch. I’d hunt for the right size container, then a lid that actually fit, then a spot in the fridge for whatever I’d made. And not just any spot. It had to be somewhere we’d see it, or it would get forgotten in the back.
If that sounds familiar, here’s the good news. You don’t need a magazine pantry or a whole weekend to fix it. You need one afternoon, a few small changes, and a simple system built around how you actually cook. Kids running through the middle of it included.
This reset is broken into short steps. Each one takes 10 to 30 minutes. Do them all in one go, or do one a night this week. Either way works.
*This post contains affiliate links. As an Amazon Associate, I earn from qualifying purchases, at no extra cost to you.*
Before you start: skip the “empty every cabinet” step
Most kitchen organization guides tell you to pull everything out first. That’s great if you have a free Saturday and nobody needs lunch. Most of us don’t.
Instead, work one zone at a time. Finish it, then move on. If you get interrupted (you will), you still end up with one area that works better than it did this morning.
Grab a trash bag and a donate box before you begin. That’s it.
Step 1: Clear one counter for a prep zone (20 minutes)
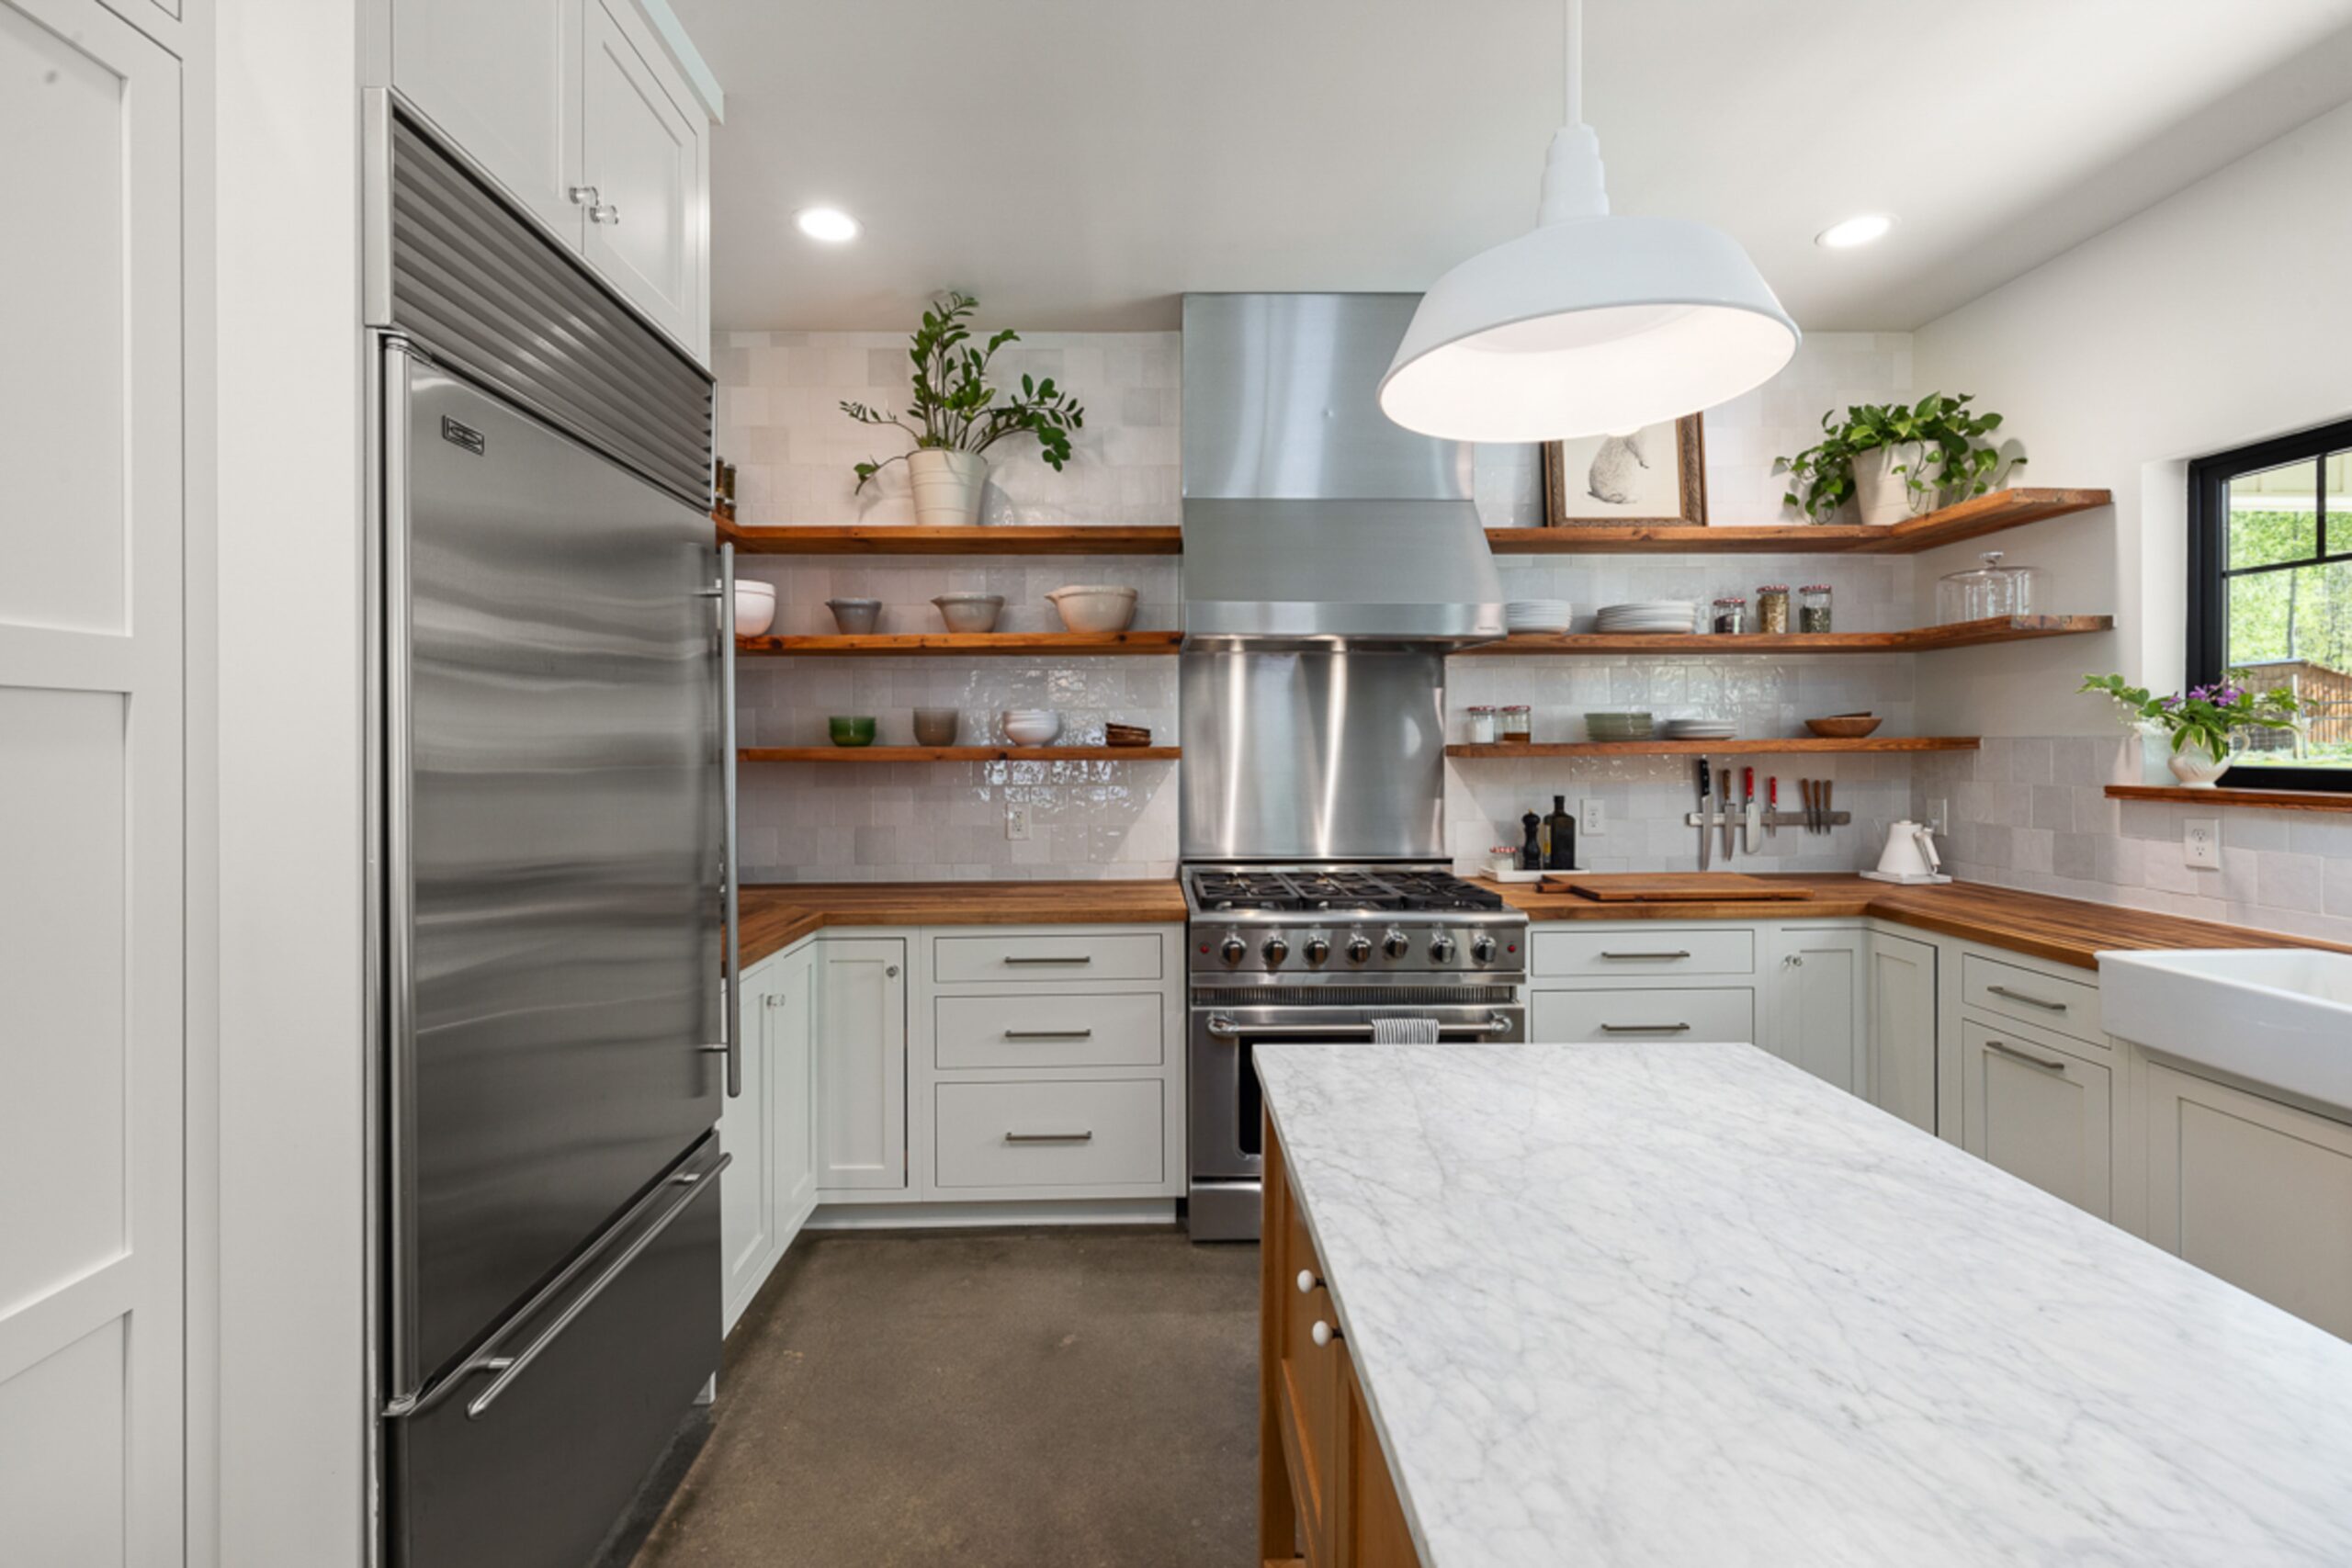
Pick the stretch of counter where you actually chop and assemble food. Usually it’s near the sink, close to the trash, with decent light.
Now clear it. The mail, the school papers, the air fryer you use twice a month: they all go somewhere else. This is now your prep zone, your little meal prep station.
Leave just a few things out:
A good-sized cutting board that lives on the counter.
A utensil crock with the tools you grab daily.
Salt, pepper and oil, if you cook with them every day
That’s your whole countertop organization plan. A clear counter means you can start prepping the second you walk in, instead of clearing space first. It sounds small. It’s the change that makes the biggest difference.
Step 2: Move your tools to where you use them (15 minutes)
Think about what you reach for during prep: knives, peeler, measuring cups, a spatula, the can opener. Now think about where those things live. If the answer is “the drawer on the other side of the kitchen,” that’s wasted steps every single time.
Move prep tools to the drawer closest to your prep zone. Move cooking tools near the stove.
A couple of things make this easier:
Drawer dividers keep the drawer from turning back into a junk pile in two weeks.
A magnetic knife strip frees up drawer space and keeps knives out of little hands when mounted up high.
If you rent, look for an adhesive strip or skip it and use a knife block at the back of the counter.
Step 3: Set up “grab zones” in the fridge (30 minutes)
This is the step that pays off all week.
The goal is simple. When you open the fridge, you (or your partner, or your 9-year-old) should be able to see what’s prepped and grab it without digging.
Pull everything out of one shelf at a time. Toss what’s expired. Then give each shelf or bin a job:
Prepped meals and ingredients: front and center at eye level, so they get eaten instead of forgotten
Washed produce: in a clear bin, ideally one with a drainer tray so things don’t get soggy
Condiments and jars: on a turntable, so nothing gets lost in the back
Raw meat: bottom shelf, in its own bin
If you have a deep fridge, a roll-out caddy is worth it. You pull the whole thing forward instead of moving six jars to reach the one in the back.
About containers
This is where a lot of meal prep falls apart. It’s where mine fell apart every single week. If your containers don’t stack and the lids don’t match, prepped food ends up taking over the fridge.
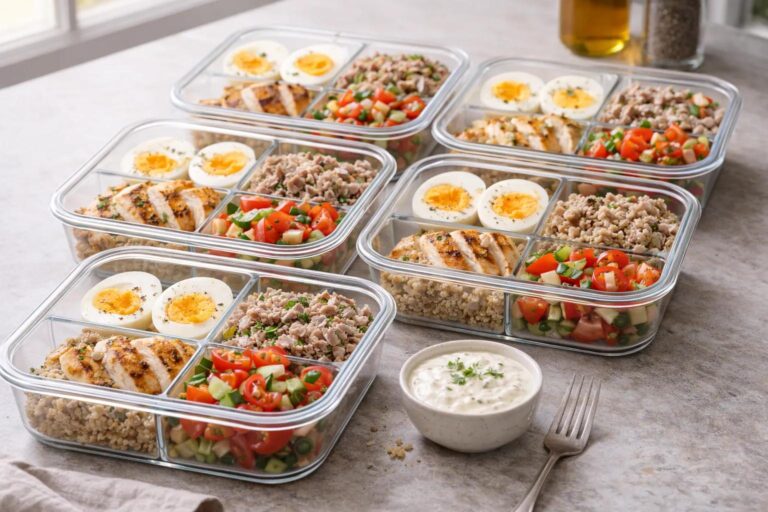
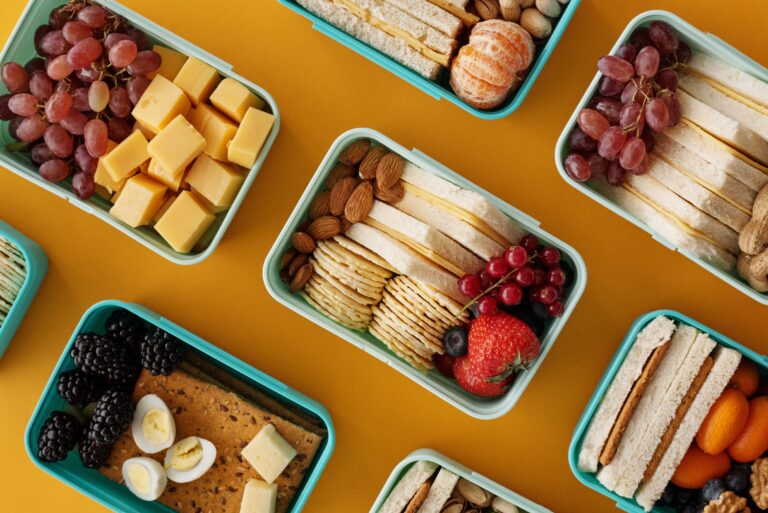
Pick one set and stick with it. Glass compartment containers are great for full meals because they reheat well and you can see what’s inside. If you want something lighter for snacks and lunchboxes, a stackable set with matching lids saves a lot of frustration.
Get rid of the orphan lids. You know the ones.
Step 4: Make a snack bin the kids can reach (10 minutes)
This one is small, but it might save your sanity.
Pick one low bin in the fridge and one low spot in the pantry. Fill them with snacks the kids are allowed to grab on their own: cheese sticks, yogurt, cut fruit, crackers, granola bars.
Now when someone says “I’m hungry” while you’re in the middle of prep, the answer is “check your bin.” Fewer interruptions. Fewer kids standing in front of the open fridge.
Clear bins work best so they can see what’s left. If your kids can’t read yet, a picture label works too.
Step 5: Make your freezer something you can actually see into (20 minutes)
The freezer is where good intentions go to get freezer burn.
Pull everything out and sort it into rough groups: meals, meat, veggies, breakfast stuff, treats. Toss anything you can’t identify. Be honest.
Then:
Use bins for each group so you can pull one out instead of excavating.
Freeze food flat in bags, then stand them up like files. You can flip through them and see everything at once.
Label everything with what it is and the date. Future you will be grateful.
Keep the stuff you’ll use this week at the front.
Step 6: Fix the pantry shelf you use most (30 minutes)
You don’t have to redo the whole pantry. Just the shelf you reach into every day.
Group things by how you use them. Pasta near pasta sauce. Breakfast things together. Baking stuff together on a higher shelf, since you probably don’t bake on a Tuesday.
A few pieces that help:
Clear airtight canisters for things like rice, oats and snacks. They keep food fresh and you can see when you’re running low.
A shelf riser so cans in the back aren’t hiding.
A turntable for oils, vinegars and spices.
Labels, so anyone in the house can put things back where they go.
Here’s a real-life caveat. Labels are nice, but they only help if people use them. Start with labels on the bins the family touches most. Skip labeling the stuff only you use.
Bonus: the pot and pan cabinet (if you still have energy)
If you’ve ever had a lid avalanche, this one’s for you. A simple lid organizer keeps them standing up and easy to grab. If your lower cabinets are deep, a pull-out organizer you don’t have to install can save your back [AFFILIATE LINK: no-install pull-out cabinet organizer].
Totally optional. The steps above matter more.
Keep the system working: the 5-minute weekly reset
No kitchen stays organized on its own. That’s normal. It doesn’t mean you failed. A good system just makes it quick to get back on track.
Pick one time a week, like right before you grocery shop. Spend five minutes:
Clear the prep counter again
Toss anything expired from the fridge
Refill the kids’ snack bins
Move older freezer food to the front
That’s it. Five minutes, and you’re ready for next week.
Why a working system matters so much
Meal prep is a pretty repeatable process. Once you have a working system in place, most weeks can be copy and paste. Same counter, same containers, same spots in the fridge.
That’s what saved me. When I’m having a tough week with my kids, meal planning and making the grocery list are just about the last things I can think about. I had no choice but to come up with a sustainable system that took the guesswork out of every week. That’s exactly what inspired me to start PrepHappens.
Now meals are ready to go on busy weeknights, plus my energy holds up better and my stress is lower. I want other exhausted, overstimulated moms to feel what that’s like too.
Now for the fun part: what to actually prep
Once your kitchen is set up, you have the start of your own system. You’ll know where everything is, your containers will fit, and you’ll have counter space to work.
If you’re not sure where to start, I put together a free meal prep guide for busy moms with simple, realistic ideas you can prep in your newly organized kitchen. Get your free guide here.
Check out our Recipes page for some genuinely easy and healthy meals and our Meal Prep page for more weekly tips and tricks.
Quick shopping list
Not sure what to grab first? Start with the zone that frustrates you most. Here’s everything from this post in one spot.
Prep zone
Fridge
Clear stackable bins with drainer trays
Kids’ snack bins
Freezer
Reusable silicone freezer bags
Freezer labels or dry-erase markers
Pantry
Cabinets (optional)
You don’t need all of it. Even one or two of these can make your next prep day go faster.